Showing posts with label Portraits. Show all posts

Wednesday, May 11, 2016

Collaborative Grid Portraits


2nd year in a row doing this lesson with 5th Grade. Students learn about Chuck Close, the grid method, and breaking big jobs into small pieces and sharing in the workload to accomplish big things. Last year my 5th graders created two large portraits of our Principle and Vice Principle. This year 5th graders created portraits two other administrators at our school. These portraits are 32"x 40". Students do not know who they are creating portraits of as they are doing it. I keep it a secret. An 8x10 photo is cut into one inch pieces and spread out among 4 classes of 5th graders. Students enlarge their piece of the portrait to 4"x4" using a grid, then complete it with pencil value. Students do the initial layout and piecing/taping together of the squares. I come back when they are done and straighten up some of their seems. It is a lot of fun to watch the students guess who the portrait is of as it comes together. The whole lesson takes about 3 class times (50 minutes each)to teach and complete. After these are done, we give them to the subject of the portrait as a gift.


Students use a grid with the numbers of the pieces written on it as a map while they put the portrait pieces together.


Students lay their one inch square on top of their value drawn piece for comparison.
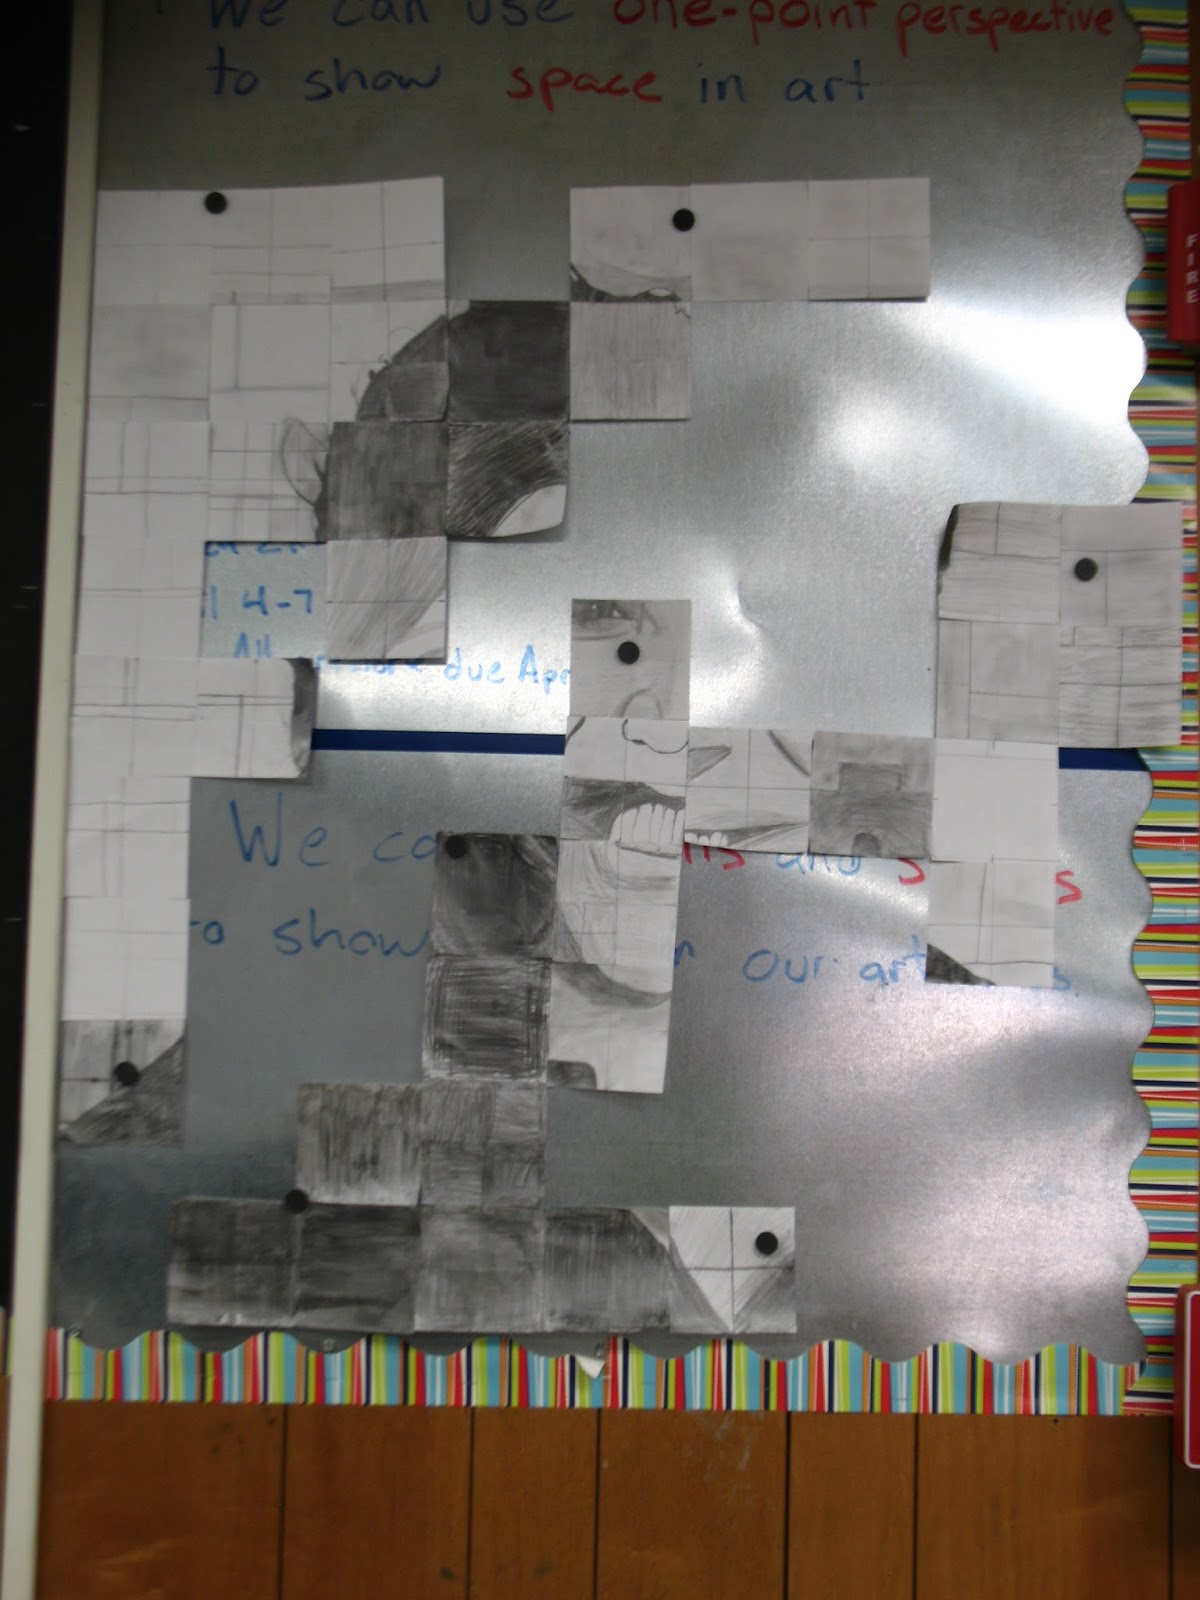


Sometimes a few pieces get lost, but special helpers get picked to do the missing pieces. Everyone enjoys this project.


Saturday, December 12, 2015

Pigs, Cows, And Friendship Portraits


When I originally created this lesson last year, I was looking for an idea of a way to help my students learn not to say mean things about each other's artwork. I was tired of 1st graders coming up to me crying about how so and so said their artwork was ugly. In my search, I came across the perfect book; When Pigasso Met Mootisse, by Nina Laden


I love any chance to teach my students about the difference between an author and an illustrator, so we read quite a few books. This one is great because it works as an art history intro to Picasso and Matisse, which we study more about later in the year. It opens up the dialogue about what is nice to say about others artwork, and what isn't, and what happens when we aren't nice.


After reading the book to the class, we talk about self portraits and I teach them about proportion. During my first year of teaching, I thought proportion was best left to be taught to older grade levels, not kindergartners and first graders. Boy was I wrong. They eat it up, and catch on pretty well. After self-portraits, we work on portraits of our best friend. All of this is done on 12x18 paper folded in half with a self-portrait on one side and a portrait on the other. I do encourage the kids to add shapes or lines to the background for pattern.


Next comes color. We outline with marker, and color in with crayon. Most students want to use regular old realistic coloring for their portraits, but a lot of them due follow me down the road of arbitrary color. I never use flesh tones for skin in my examples. After all, we are looking at Matisse and Picasso portraits and self-portraits everyday at the beginning of each class that we work on this assignment. WWMD or What Would Matisse Do? I tell them, "Have fun with the colors" and "It is your job to find ways to make your drawings fun". Anyways, here are a few finished examples. Unfortunately, I did not take as many pictures as I wanted too. There are many more that I really wish I had taken pictures of to share.